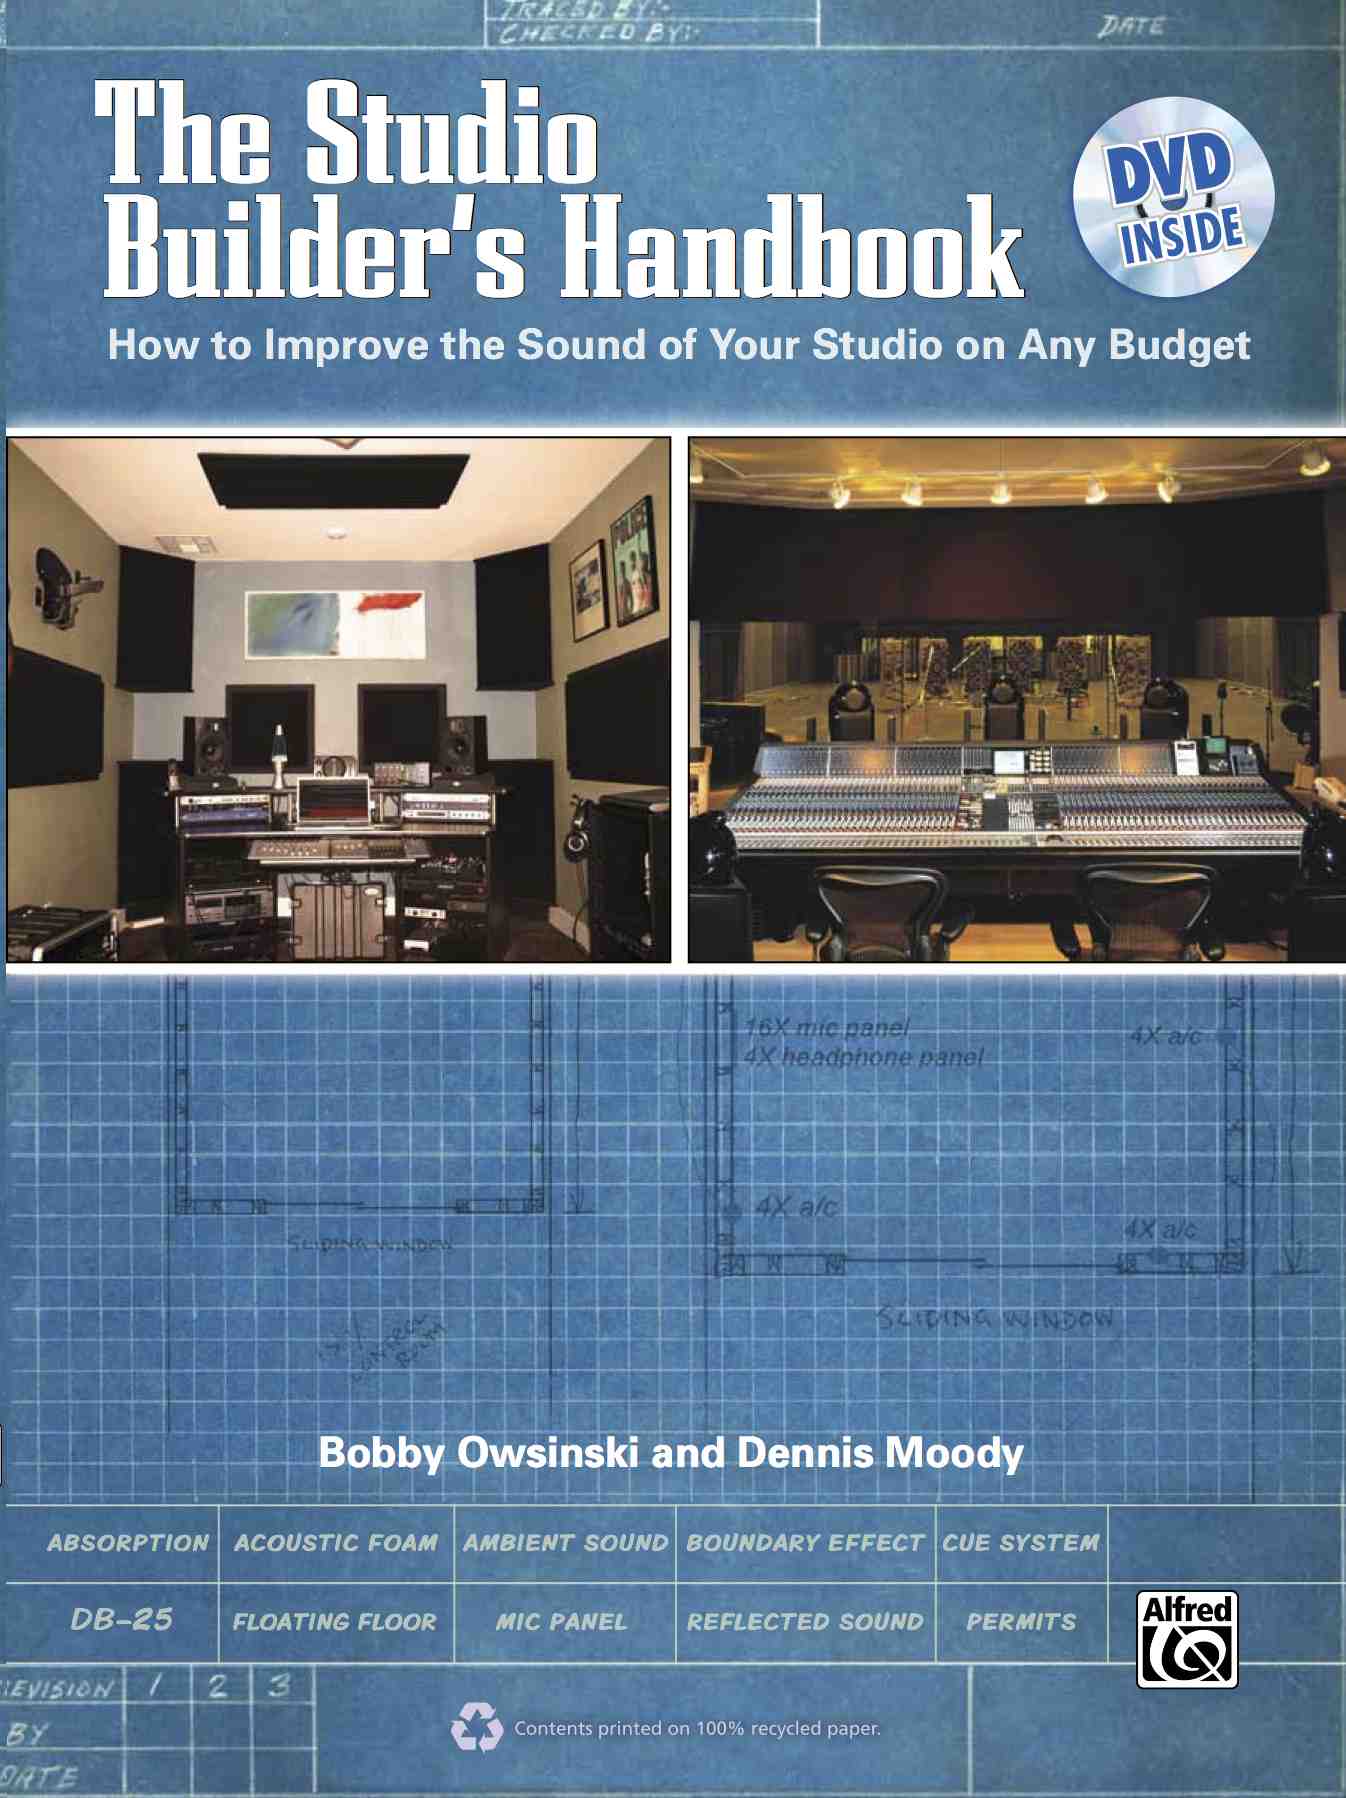
The Studio Builder’s Handbook
In The Studio Builder’s Handbook you’ll discover:
• the secret of how to improve the sound of any size room with a very limited budget
• the principles of isolation that will help keep your outside volume low and your neighbors happy
• the trick to setting up your speaker system to take the best advantage of your room
• how to build your own acoustic panels, bass traps and studio windows and doors for less money than you thought possible
• the importance of frequently overlooked items like permits, the lounge, security, amenities, and storage
• the real differences between a personal and commercial studio
• booking techniques that get the right information to help the session run smoothly
• and much more!
What It's About
No matter how good your recording gear is, chances are you’re not getting the best possible sound because of the deficiencies of your room. While you might think that it costs thousands of dollars and the services of an acoustic designer to improve your studio, The Studio Builder’s Handbook will strip away the mystery of what makes a great sounding studio and show how you can make a huge difference in your room for as little as $150.
The Studio Builder’s Handbook also features interviews with expert contractors, studio designers, producers and engineers that give you a look into their personal studio building experiences.
As a bonus, an accompanying DVD provides a look at the actual construction of acoustic panels and bass traps by co-author Dennis Moody, as well as a guided tour by a studio builder.
Kind Words From Readers
For those who want to get into the recording industry with a commercial studio, re-do a basement into a music warehouse, or just acoustically pad your bedroom down for some homemade demos, this is a great book choice for you.
James Rushin -Â Music Gear Review
…and dozens more like it!
Let's Look Inside
Table Of Contents
PART 1
Chapter 1 – Some Studio History
The Origin Of Acoustics
  The Greek Theater
  The Roman Amphitheater
  The Great Minds
Modern Acoustics
  1900 to 1940
  The Rise Of The Tape Machine
  The Disco Era
  Live End Dead End
  The Reflection-Free Zone
Studio Design Pioneers
  Bill Putnam
  Tom Hidley
  George Augspurger
Chapter 2 – Design Ideas
Individual Needs
  Engineers
  Drummers
  Guitarists
  The All-In-One Room
  Vocalists And Voice-Over Artists
Personal Studio Parameters
  Production/Mixing Room
    Isolation
    Size
    Shape
    Recording
  Tracking/Rehearsal Room
    Size
    Acoustics
    HVAC
    Monitoring
Commercial Studio Parameters
  Different Types Of Studios
    Dialog
    Audio Post
    Foley
    Music
    Scoring Stage
  Common Concerns
    Problem Neighbors
    Storage
    The Lounge
    Amenities
    The Bathroom
Chapter 3 – Some Basic AcousticsÂ
Soundproofing
  What Won’t Work
  Two Basic Isolation Principles
  The Ceiling
  The Door
  Windows
Acoustic Control
  Your Room
    Standing Waves
    Room Modes
    The Size Of The Room
    The Shape Of The Room
    Parallel Walls
    The Curse Of Low Ceilings
    The Floor
    Reverb Time
  Acoustic Control Methods
    Absorption
    The Reflection-Free Zone
    Acoustic Panels
      The Basic Material
      How Many Panels?
      Placement
  Bass Traps
    The Tuned Trap
  Diffusers
Chapter 4 – Isolation Techniques
Measuring Sound Transmission
  Transmission Loss In The Real World
Increasing STC
  The Studio Walls
    How Can We Improve That
    Isolation Rules
  The Ceiling
  Windows
  Doors
    Sliding Glass Door
  Floating Your Floor
    Building A Floating Floor
Flanking Transmission
Chapter 5 – Making A Plan
Determine Your Needs
  General Needs
  isolation Needs
  Acoustic Needs
  Construction Needs
Measure Your Space
  Considerations
    Material Storage
    Air Conditioning
    Electrical
Make Your Lists
  Make A Materials List
  Make A To-Do List
  Make A Schedule
    It Always Takes Longer Than You Think
Finding Good Help
  Contractors
Permits
Chapter 6 – Building A Personal-Use Studio
Determining The Listening Position
  Standing Waves
  Symmetry
Controlling The Acoustics
  Creating A Reflection-Free Zone
  Treating The Rest Of The Room
    The Rear Wall
    The Corners
    The Side Walls
    The Front Wall
    The Floor
    The Ceiling
    Doors
    Windows
Chapter 7 – Building A Commercial Studio
Design
  The Decor
    What Are Your Clients Looking For?
    The Design Concept
    Utilizing Your Space
Getting Some Help
  Hiring A Designer
  Hiring An Architect
    Getting Permits
  Hiring A Contractor
  Prepping Your Space
Commercial Studio Isolation
  Floating Your Floors
  Building Your Walls
  Building Your Ceiling
    Lighting
    HVAC Ducting
      The Mini Split
  Your Door
    Weatherstripping
    The Threshold
  Sliding Glass Door And Airlock
Electrical
  Electrical Conduits
  The Power Outlets
Audio Wiring
  Wiring Behind The Wall
  Floor Cable Troughs
  Wiring Help
Acoustics
  Acoustic Panels
  Bass Traps
The Lounge
  Lounge Decor
  Lounge Amenities
Storage
The Restroom
Chapter 8 – Purchasing The Materials
Flooring Materials
  Wood Flooring
  Carpet
    Carpet Padding
  Floating Floor Materials
General Building Supplies
  Lumber
  Metal Studs
  Screws And Nails
Isolation Materials
  Drywall Alternatives
  Lead Sheets And Mass Loaded Vinyl
  Caulk
  Fiberglass Batting
  Resilient Channel
  Green Glue
  Acoustic Putty
  Gaskets And Weather Stripping
Acoustic Materials
  Panel Material
    Owens Corning 703
    Mineral Wool
    Untratouch Cotton
    Foam Padding
  Frames
  Fabric
  Finish Materials
Sample Materials List
Chapter 9 – Pre-Made Acoustic Components
Materials
Pre-made Acoustic Panels
Mounting Accessories
Full Room Kits
Vocal Booths
Chapter 10 – Oops, I Forgot
Security
  What You’ll Need
  Alarm Plans
Video
Wireless DSL
Backup
  System Backups
  Client Backups
  Online Backups
Online Storage
Supplies
Storage
  Client Drives
    Spring Cleaning
Chapter 11 – Speaker Setup
Choosing Your Monitors
  Tips For Choosing A Set Of Monitors
Basic Monitor Setup
Chapter 12 – Choosing Your Gear
Step 1: Purchase A Computer And DAW
Step 2: Mic Panels
Step 3: Microphones
  Vocal Mics
  Instrument Mics
  Keyboard Mics
  Drum Mics
  Mic Extras
  Going Direct
Step 4: The Input Chain
Step 5: Signal Processors
Step 6: The Headphone System
  Personal Headphone Mixers
  Headphone Types
Step 7: Speakers
Step 8: Cables
  Adapters
Extra: Video Posting
Chapter 13 – You Have a Studio – Now What?
The Studio Business
  The Business Structure
  Insurance
  Booking The Gig
    Before The Session
Keep Your Expenses Down
Studio Promotion
  Your Website
  Your Email List
  Social Networking
    Your Blog
    Twitter
    You Tube
  Traditional Media
  Word Of Mouth
Finally
PART 2 – Interviews
Carl Tatz – Studio Designer
Eddy Shreyer – Mastering Engineer/Studio Owner
Keith Olsen – Producer/Co-Owner MSR
Felix Nunez – General Contractor/Bass Player
Sheldon Sims – Wiring Integrator
Chapter 3 Excerpt - Some Basic Acoustics
Some Basic Acoustics
When it comes to soundproofing, there are some very basic principles that just about anyone can understand that will get you 90 percent of the way there. The problem is that every extra percent of isolation that you wring out of your space from that point costs exponentially more money.
What Won’t Work
Before we look at some accepted ways to improve your isolation, let’s look at all the things that won’t work. The following are various materials that you’ll often see attached to the walls of a space in hopes of increasing the isolation.
Mattresses – There are so many things wrong with this that it’s hard to know where to start. Sure mattresses are made up of a lot of soft material, but it’s not the right kind for sound absorption, won’t affect the low frequencies at all (which are what causes most of the the isolation problems), accumulates mold and moisture, and makes nice homes for rodents and other unwanted critters. Plus, it’s pretty difficult to get enough of them to cover a room, and they take up so much space for so little benefit in return.
Egg Crates – Egg crates are light porous cardboard and do absolutely nothing for soundproofing. They can act as a sound diffusor at higher frequencies, but the bandwidth is so limited that they’re virtually useless there as well. Plus, they’re highly flammable! It’s difficult to find enough of them to cover a room, but frankly, even using one is too many.
Carpet – Carpet attached to the wall is another product that will affect the sound of the room yet do nothing in the way of soundproofing since it doesn’t affect the low frequencies, which are the ones that you’ve got to control for good isolation. Carpet has exactly the same problem as mattresses in that it will begin to smell over time. Old or new carpet makes no difference, except that older carpet will smell more.
Foam Rubber – Foam rubber does have some acoustical absorption properties, but once again will do very little for the low frequencies that will cause all of your problems with the neighbors. It’s can be as expensive as materials with real acoustic control properties, degrades over time, and will burn like crazy if given the chance.
Rubber – Floor matts, mouse pads, neoprene, or any other variation of rubber will do very little to stop sound coming or going from your room. Once again, it’s much cheaper to buy proper acoustic materials that are easier to work with, but they won’t help your isolation problem either.
Wall Cellulose – Pumping cellulose insulation into walls can make a slight difference, but it’s marginal since there are much more effective ways to improve the isolation that are much cheaper. It can be helpful if used along with some other techniques that we’ll soon go over, but isn’t particularly effective by itself.
Fiberglass Insulation – Common fiberglass insulation once again has little ability to stop enough of the low frequencies that bug your neighbors, although, like with blown cellulose, it can be useful in conjunction with other techniques. Just pinning it to the wall won’t help though, but it will affect the acoustics of the room. It’s also a skin and eye irritant, takes up a lot of space, and the dust can be hazardous to your lungs when left exposed. As you’ll soon see, there’s a much better way to use fiberglass for acoustic control (although it still won’t help with isolation much).
Plywood Panels – It’s true that plywood panels provide mass and mass is what’s needed to stop sound transmission (especially the low frequencies), but the problem is that wood transfers sound too well so the construction technique used is crucial. Not only that, if the panels are too thin they’ll resonate and vibrate, causing an even bigger problem.
Particle Board – See plywood panels.
Bales Of Hay – Unless you live out in the country, it’s unlikely that hay bales are much of an option, but they actually do work. The problem is that they take up a lot of usable space, make a nice home for critters, and are a major fire hazard. Not recommended!
Acoustic Foam – Acoustic foam is helpful in controlling the acoustics within a room, but it does nothing to stop sound transmission and is expensive to boot. Acoustic foam doesn’t even begin to affect the offending low frequencies, and using too much just makes the room seem dead and uncomfortable. There are much cheaper ways to achieve a better result.
Understand that all of these materials will have at least some affect on the sound of the room (which we’ll cover later in the chapter), but will do almost nothing by themselves to help improve your isolation.
Chapter 5 Excerpt - Making A Plan
Making A Plan
Permits
Before you begin construction, check to see if you need any permits for the job. A construction or building permit is required in most counties for new construction, adding on to a pre-existing structure, and in some cases, for renovations, and is their way of ensuring that the construction is safe. Depending upon your location, a permit may be required even for repair or replacement of existing fixtures such as replacing windows or bathroom upgrades. A plumbing, electrical or mechanical permit may also be needed for any addition or changes to a building’s existing system, like moving or adding an electrical outlet.
In order to obtain a permit you have to submit a plan for your project. Plans for projects such as room additions can usually be drawn up by a draftsman, while large projects may require plans prepared by an architect or engineer licensed by the state you’re living in. For projects such as routine retaining walls, patio covers or carports, some cities or counties have standard specifications that can be followed within certain limitations, so ask if what your doing fits within those limitations. Those specifications, together with a plot plan showing your project, may be accepted by the Department of Building and Safety.
Generally, the new construction must be inspected during construction and after completion to ensure compliance with national, regional, and local building codes. The inspection is important because the project isn’t deemed complete until it’s inspected. Permits usually only last for 120 to 160 days, then they expire and you’re now in violation of the city or country code, so call for that inspection as soon as you can.
Failure to obtain a permit can result in significant fines and penalties, and even demolition of unauthorized construction if it can’t meet the code. Although you might be able to get away without a permit with no one being the wiser, it’s a requirement if you want to make a claim on any business or building insurance that you might have. Having anything built without a permit is a very convenient excuse for the insurance company to decline your claim!
Applying for a permit or inspection is usually done at your local Department of Building and Safety. Some larger cities will even allow you to apply online, so Google “your city building permits†first to find any info on the process locally.
Don’t forget, if you are renting leasing space in a building, you’ll be required to get the permission of the building’s owner before you undertake any major, or in some cases, even minor construction. Make sure that you discuss your plans for the studio with the owner BEFORE you sign your rental contract or lease agreement. You may find that they might deny you permission to do such work to their building and you may find yourself stuck in a long lease with no way out. If the landlord or owner is a little skeptical about your plans when you’re negotiating your rental contract, it may be best to move on and find another location. Also, make sure that the person you’re negotiating with has the authority to permit you to do such building changes. If he is only an agent, friend or relative of the owner, he or she may not have the authority to tell you it is okay to do such work. Get everything in writing BEFORE you sign the dotted line or you could be in for a real nightmare!!
Studio Designer Carl Tatz Interview Excerpt
Studio Designer Carl Tatz
Interview Excerpt
What would you tell someone who’s trying to build a room on a budget?
You can do a room really inexpensively until you ask for isolation, because that’s what takes all the money along with HVAC, electrical and lighting costs. If you’re going to do it right, building a studio is a big job because there’s so much detail required when the isolation comes into play. But if it’s just a bedroom or a garage, you can just drywall it and add some sound panels.
You want a rectangular room and you want to be set up length-wise in the room. Then get a modal calculator and figure out where your head and speaker should be. Grab the first reflections, which are the most critical, and soften up the back wall. That’s easy. But if you’re doing it in an upstairs bedroom in a way that you don’t wake the kids, that’s a whole other world. That’s when you get into a room within a room, and the price skyrockets.
If you need a tracking area as well, then you have to worry about isolation between the tracking area and the control room. Of course, everyone forgets about electrical, lighting, HVAC, and all those things that you want to do well or it will hurt the performance of the room in some way.
But there are a lot of studios in homes that only use some acoustic panels in the living room and they can sound okay.
You’re talking about burlap covered 703 or something like that?
Yeah, acoustically transparent fabric. Ideally you want 4 inch panels, either 4 inches of 703, or if you only have 2 inch 703, then you need to get them a couple of inches off the wall to kind of give you the same performance. Ideally you’d like to get some corner trapping in there too.
Having a drop ceiling can be a curse or a blessing. Some of the worst rooms I’ve ever had to work with had drop ceilings because they screw up all the modes and you never know what you have to deal with. Paradoxically, they can be a blessing because they can act as a bass absorber if that’s needed.
So there are two situations; there’s the guy who has an extra room in his house who just wants to mix in it. That’s easy and relatively inexpensive if he doesn’t care about bothering anybody else. When you start getting into isolation or a tracking room, it’s a lot more complex, time consuming, and requires a lot more money. Sometimes you see a client go all out for the control room and go a lot cheaper on the tracking room. There’s one room I’m doing where the tracking room has just one wall of isolation to keep the traffic noise out, a nice bamboo floor, a custom-built trap behind the drums, and some Auralex panels flying from the ceiling. That’s an inexpensive tracking room. In the future he can make that fully isolated if he wants, but this should work okay for what he needs right now.
When you design a studio with a tracking room, do you use the traditional windows or have you used sliding glass doors in between?
I haven’t used sliding glass yet. We make our own doors with 3/4 inch laminated glass. I try to use as much glass as I can to make things seem open, that’s why my control room windows go down right to the floor.
I haven’t used the commercial $5,000 acoustic doors because I don’t think they’re any better than what we do. I just get a regular external door jam and put the gasket that you see on the tops and sides on the threshold in the bottom. Then we’ll get a solid slab door, which costs about $80, and cut it out and put the laminated glass in it. If you have a double door with an airlock, then you’re great. Generally speaking, it works well enough.
What would you do to a room first?
It’s all about grabbing the first reflections where you put a mirror along the wall and where you see the tweeters of the speakers is where you put a panel. Then you want to grab the reflections on the ceiling with some sort of cloud. That’s very important. Then you want to get some absorption in the front corners.
In a small room, the more absorption the better. You wan’t it more dead than live. In a tracking room you can be wacky and do all sorts of crazy stuff and get away with it, but in a control room it’s a lot more serious. Symmetry is everything. I’d always lean towards more dead than live.
You want make the back wall dead so no reflections come back at you. Forget about the diffusion back there.
Don’t you believe in diffusion?
I believe in it, just not for the back wall. The idea that it will make it sound more natural doesn’t work for me. Just make the rear wall dead and everything will sound fine.
Do you subscribe to the 38 percent rule?
Yeah. All that really does is put you in between the nulls. If you use a modal calculator you can find out that 38 percent puts you in between the 2nd axial mode. The problem is that you don’t always have the luxury of placing yourself at 38 percent. In a really small room, if you go by the 38 percent rule, you won’t have any room left.
Keep in mind that when you’re in a small room, the boundary effects can be as strong as the nulls and modes, or stronger. If your speaker is up against a wall, you always get a lot more low end, but the peaks and nulls will kill you because you can’t boost a null.